EEVA Store - Elegance EV Accessories
BYD Sealion 7 OEM Dash Cam
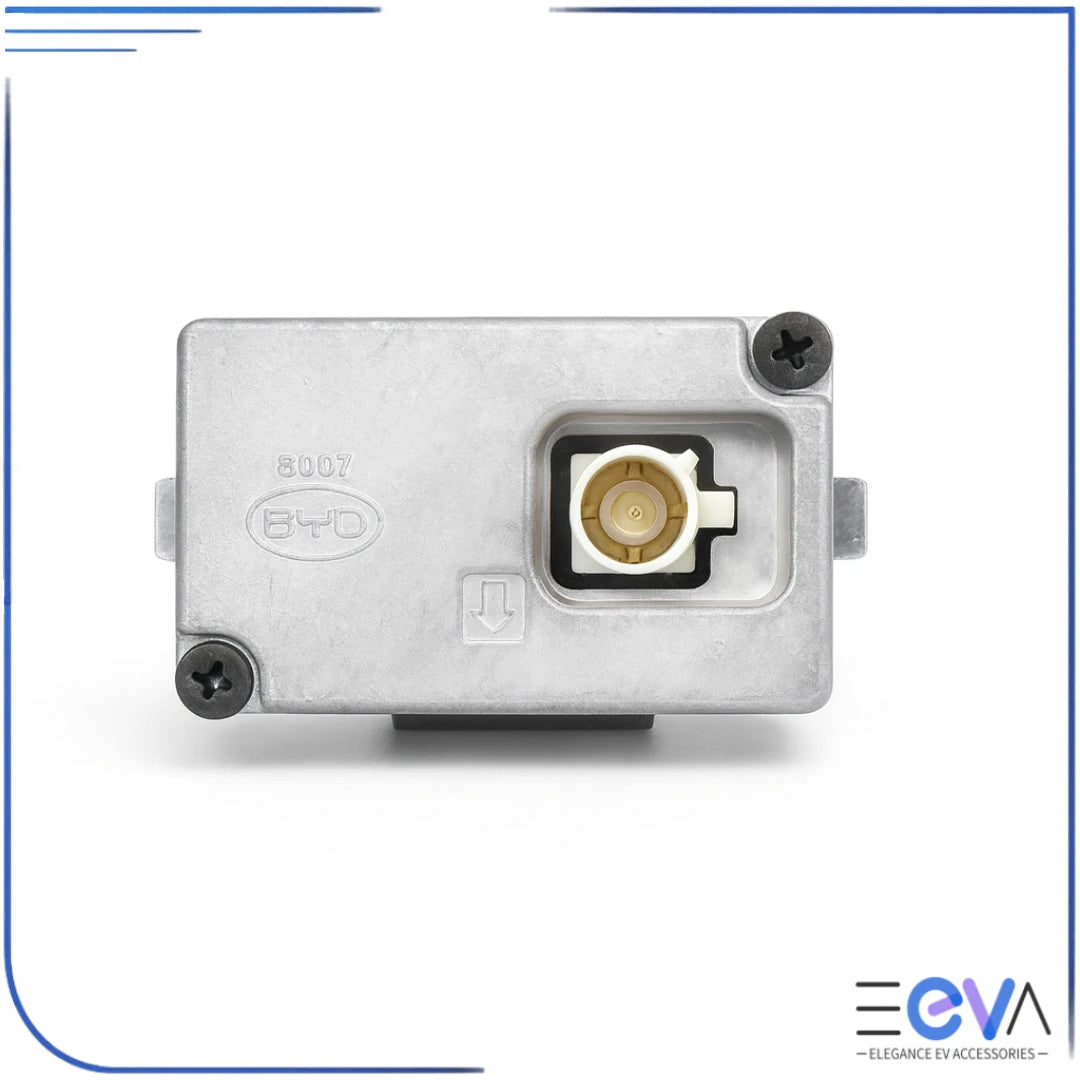
BYD Sealion 7 OEM Dash Cam
 1-Year Warranty
- Easy Return
- Secure Checkout
- Ships from Sydney
- Quick Delivery
- Sealion 7
- EOFY Stocktake Notice: Orders placed from 25 June to 2 July will be shipped from 3 July.
Couldn't load pickup availability
Description
⚠️ Important Information Before Purchasing
We recommend reading the full setup guide linked at the end of the description to understand the different Sealion 7 wiring and storage configurations and to ensure you select the correct option for your vehicle.
This item is not eligible for return or refund due to change of mind or incompatibility. Returns are only accepted for faulty products.
This item is not eligible for return or refund due to change of mind or incompatibility. Returns are only accepted for faulty products.
This OEM dash cam is designed specifically for the BYD Sealion 7, offering a clean factory-style installation and seamless integration with the vehicle. It connects directly to the original mounting location and wiring for a neat, plug-and-play setup with no permanent modifications required.
Built to match BYD factory standards, this dash cam provides reliable front-facing recording while maintaining the original interior look of your vehicle.
Key Features
- Factory-fit design for BYD Sealion 7
- Direct connection to existing mounting and wiring points
- Clean OEM-style installation with no visible cables
- Designed to integrate seamlessly with the vehicle interior
- Optional interface module available for expanded connectivity
Specifications
- Fitment: BYD Sealion 7
- Mounting: Factory dash cam mount
- Power: OEM vehicle connection
Available Variants
- OEM Dash Cam
- OEM Dash Cam + SD Card Interface Combo
- SD Card Interface (Add-On)
Additional Notes
- The USB-C and SD card interface is optional and can be purchased separately or as part of a combo
- Please select the correct option before adding to cart
For a detailed step-by-step installation and setup guide, check out our full article: BYD Sealion 7 OEM Dash Cam Setup — All You Need to Know! It covers compatibility details, installation tips, and interface module recommendations.
Ships from Australia with local support.